How to setup an Ethereum Wallet in 5 minutes (MetaMask + Ledger)
This post will teach you what Ethereum Wallets are, and how to set up both a software and hardware wallet to safely access and transfer your crypto assets!

One of the great parts of decentralization and blockchain technology is that we have more control over our actions. The downside is that we are responsible for the security of our assets. Interacting with a malicious contract or sending a transaction to the incorrect address will have irreversible consequences. It's scary and intimidating at first, especially for new users, but hopefully after reading this article things will become easier to understand and you can better manage your assets!
First, this post assumes you have knowledge of how blockchains work. If you're new to this technology, read our intro to blockchain technology (non-technical)!
What is a wallet?
Your funds, assets, and transaction history are all stored on the Ethereum blockchain. For Ethereum, we call these accounts. Your account contains two keys:
- Public key: An address that lets you send and receive transactions. This could be thought of as a username or an email.
- Private key: This is used to authenticate/sign anything you do related to your public key. It's cryptographically linked to your public key. We can think of this as your password. This is extremely important and is the key to everything you will own in the crypto world.
For this post, we don't need to go through the nitty gritty details of how blockchain technology encrypts and decrypts your public and private key to authenticate your transactions. Instead, let's just focus on the concept that your public key is an address that can be shown to anyone and is the address you would give an entity to send assets to. Your private key should never be revealed.
Wallets are simply products and interfaces that can help you access and navigate your account without having to directly interact with the blockchain code. In general, there are 3 different types of wallets:
- Hosted Wallet: When you sign up and trade using a platform like Coinbase, Coinbase creates and manages your assets through a wallet they create for you. This is similar to how a bank keeps your money safe in a checking account. The downside is this limits the accessibility of your assets as you aren't in control.
- Software Wallet (Hot Wallet): One of the most popular options for wallets are hot wallets such as MetaMask. MetaMask is a Chrome extension that allows you to interact and sign (authenticate) transactions directly on your browser. While you have full control (non-custodial) and its a very accessible/easy option, MetaMask lacks security as the private keys are stored through your browser's data store. Simply put, if your browser or computer gets compromised, hackers and scammers can potentially find your private key.
- Hardware Wallet (Cold Wallet): A hardware wallet, such as Ledger or Trezor, is a physical device that stores your private keys offline. This solves the problem of hot wallets where vulnerabilities in either your browser or computer can no longer affect your crypto assets. Ledger, for instance, can still be viewed through the MetaMask interface, but the private keys will no longer live on your browser.
Just because you use a hardware wallet doesn't mean your assets are 100% secure. Engaging with malicious smart contracts (such as giving approval to transfer all your assets) are still possible
Now that we have the basics of the different types of wallets available, let's dive in how to set them up!
How to set up MetaMask
Installation
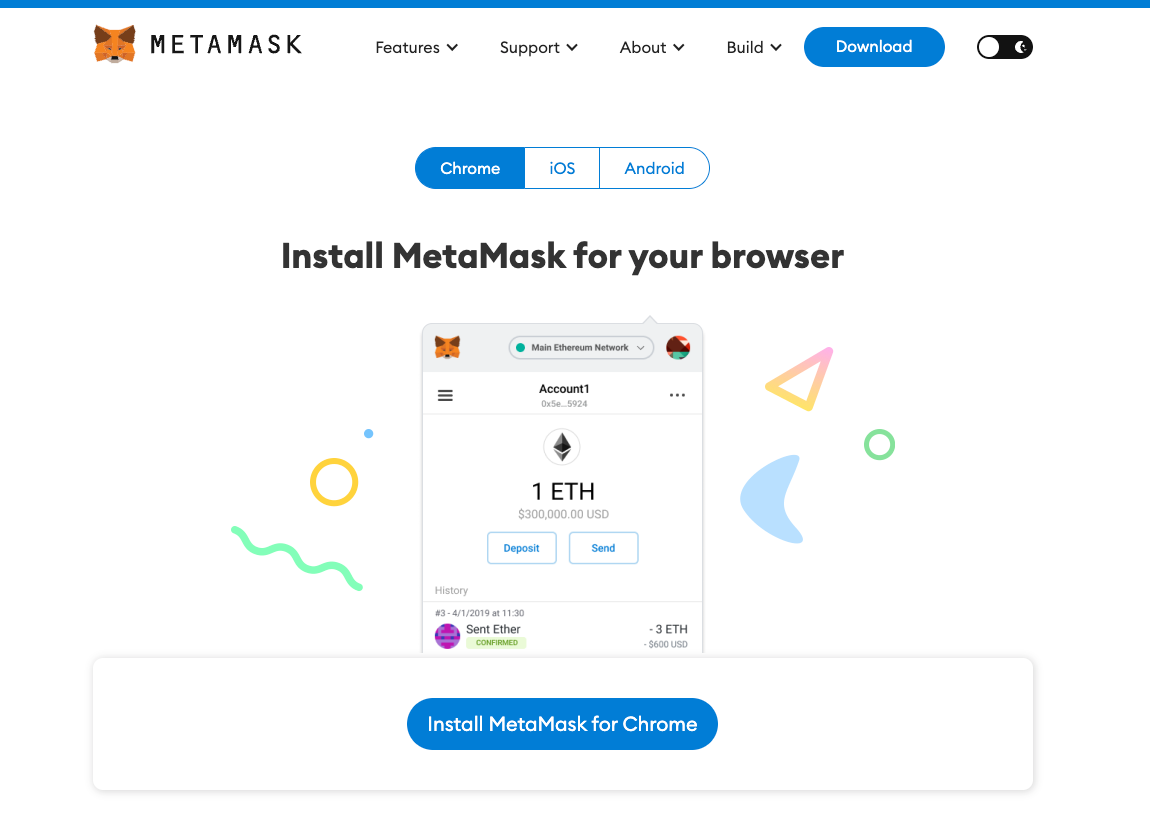
First, head off to the official MetaMask website to download the extension. You'll have options to download via Browser, IOS, or Android. I prefer browser, so most of this tutorial will focus on the browser platform.
Note: Make sure you are on the correct link for everything you do in Web3.

Create a Wallet
After you install MetaMask, you'll be prompted with a screen to either import an existing seed phrase or create a wallet and set up a new seed phrase. Select create a wallet

Password and Secret Phrase
After filling out some data collection agreements, which won't impact your wallet creation, you will need to create a password. Your password is used to access and open the app through your browser. Each time you enter your Secret Recovery Phrase (Seed Phrase), a new password will be set for that instance of MetaMask. This lives all in your browser, so the password is not accessible by other browsers.
After entering your password, you'll be prompt with a screen showing your seed phrase. Write this down on a piece of paper and store it. Your seed phrase is the only way you can recover your account and secure your assets. Storing this digitally will make it even more vulnerable to online attacks. The best way is to either memorize the phrase or write it down on a piece of paper and store it securely.

Accessing your account and transferring funds from Coinbase

After creating your wallet, you can create a new Ethereum Mainnet account. Once you do this, you'll see a screen such as this. Under your account name, in this instance Account 2, you'll see your public Ethereum address. We also have some options to Buy, Send, or Swap tokens directly on MetaMask, but my preferred way is to buy crypto on a CEX such as Coinbase and then send assets to my MetaMask.
I won't go over buying crypto on Coinbase, as this is fairly straightforward and Coinbase docs are great for this!
Sending assets from Coinbase to MetaMask
In Coinbase Pro, go to Portfolio's tab -> select Withdraw -> select the currency (in this case ETH) -> Crypto Address. You will then be prompted with this screen to send your ETH to a specific crypto address.

Copy the public address under the Account Name in MetaMask (this should automatically copy to your clipboard after clicking) and enter it in the address field here.
For new accounts, you may want to send a small amount for testing purposes
Once you send your crypto, you'll notice a new activity in your MetaMask where you can see your transaction (you can also view the transaction on a block explorer such as Etherscan while it is in progress).

And just like that you have loaded your account with some funds! You can use these funds to swap with other tokens, participate in DeFi activities, or buy NFTs!
Signing Messages on MetaMask

Each transaction we perform on the Ethereum network requires our digital signature. It's important to look through these messages thoroughly to ensure we are signing for the correct transaction.
Signing a message is just as simple as pressing the sign button, but interacting with a malicious contract or giving access to an unknown site could have huge consequences.
How to setup Ledger with MetaMask
While there are many hardware wallets out there, the top two seem to be Trezor and Ledger. In this tutorial, we'll use Ledger as our example, specifically, the Ledger Nano X.
When you open your Ledger, there will be some instructions on setting up a pincode and receiving your secret recovering phrase.
Similar to MetaMask, set those up, write them down, and keep them secure. Detailed instructions on this setup are given with your product or you can find them live here. This tutorial will focus on integration with MetaMask
Using MetaMask, select the Connect Hardware Wallet from the main account dropdown menu

Once you connect to your hardware wallet, Ledger requires a USB-A connection, you will see a screen to select the type of hardware wallet you are using.

From here, we can create Ledger account directly through MetaMask or through Ledger Live, the official app for Ledger. I prefer to create the account and manage everything from the app!
Once your account it created, you'll be able to access your account through MetaMask just like your standard account.
Per Ledger's official website
Although your Ledger Ethereum account shows in MetaMask, the private keys that control spending from your account are secured by your Ledger device and represented by your 24-word recovery phrase.
To interact with Ethereum accounts with Ledger, install the Ethereum App onto your device (All actions are authenticated by manually pressing the device).

Remember how we signed contracts using the MetaMask extension before? For Ledger, we will have to enable Blind Signing in the Ethereum App that we just installed. This is for interacting with smart contracts through MetaMask, and this feature should only be toggled on when necessary. You can enable this by operating through the menu screen on your Ledger device. Per Ledger's website:
Enabling blind signing is an advanced feature that is only required for signing transactions involving smart contracts (e.g. swapping tokens via a decentralized exchange). It's recommended to disable blind signing after use.
And just like that you've set up a hot wallet that you can access directly through MetaMask and a cold wallet which also can be viewed through the MetaMask interface!